Thwompette Cosplay crown crochet pattern

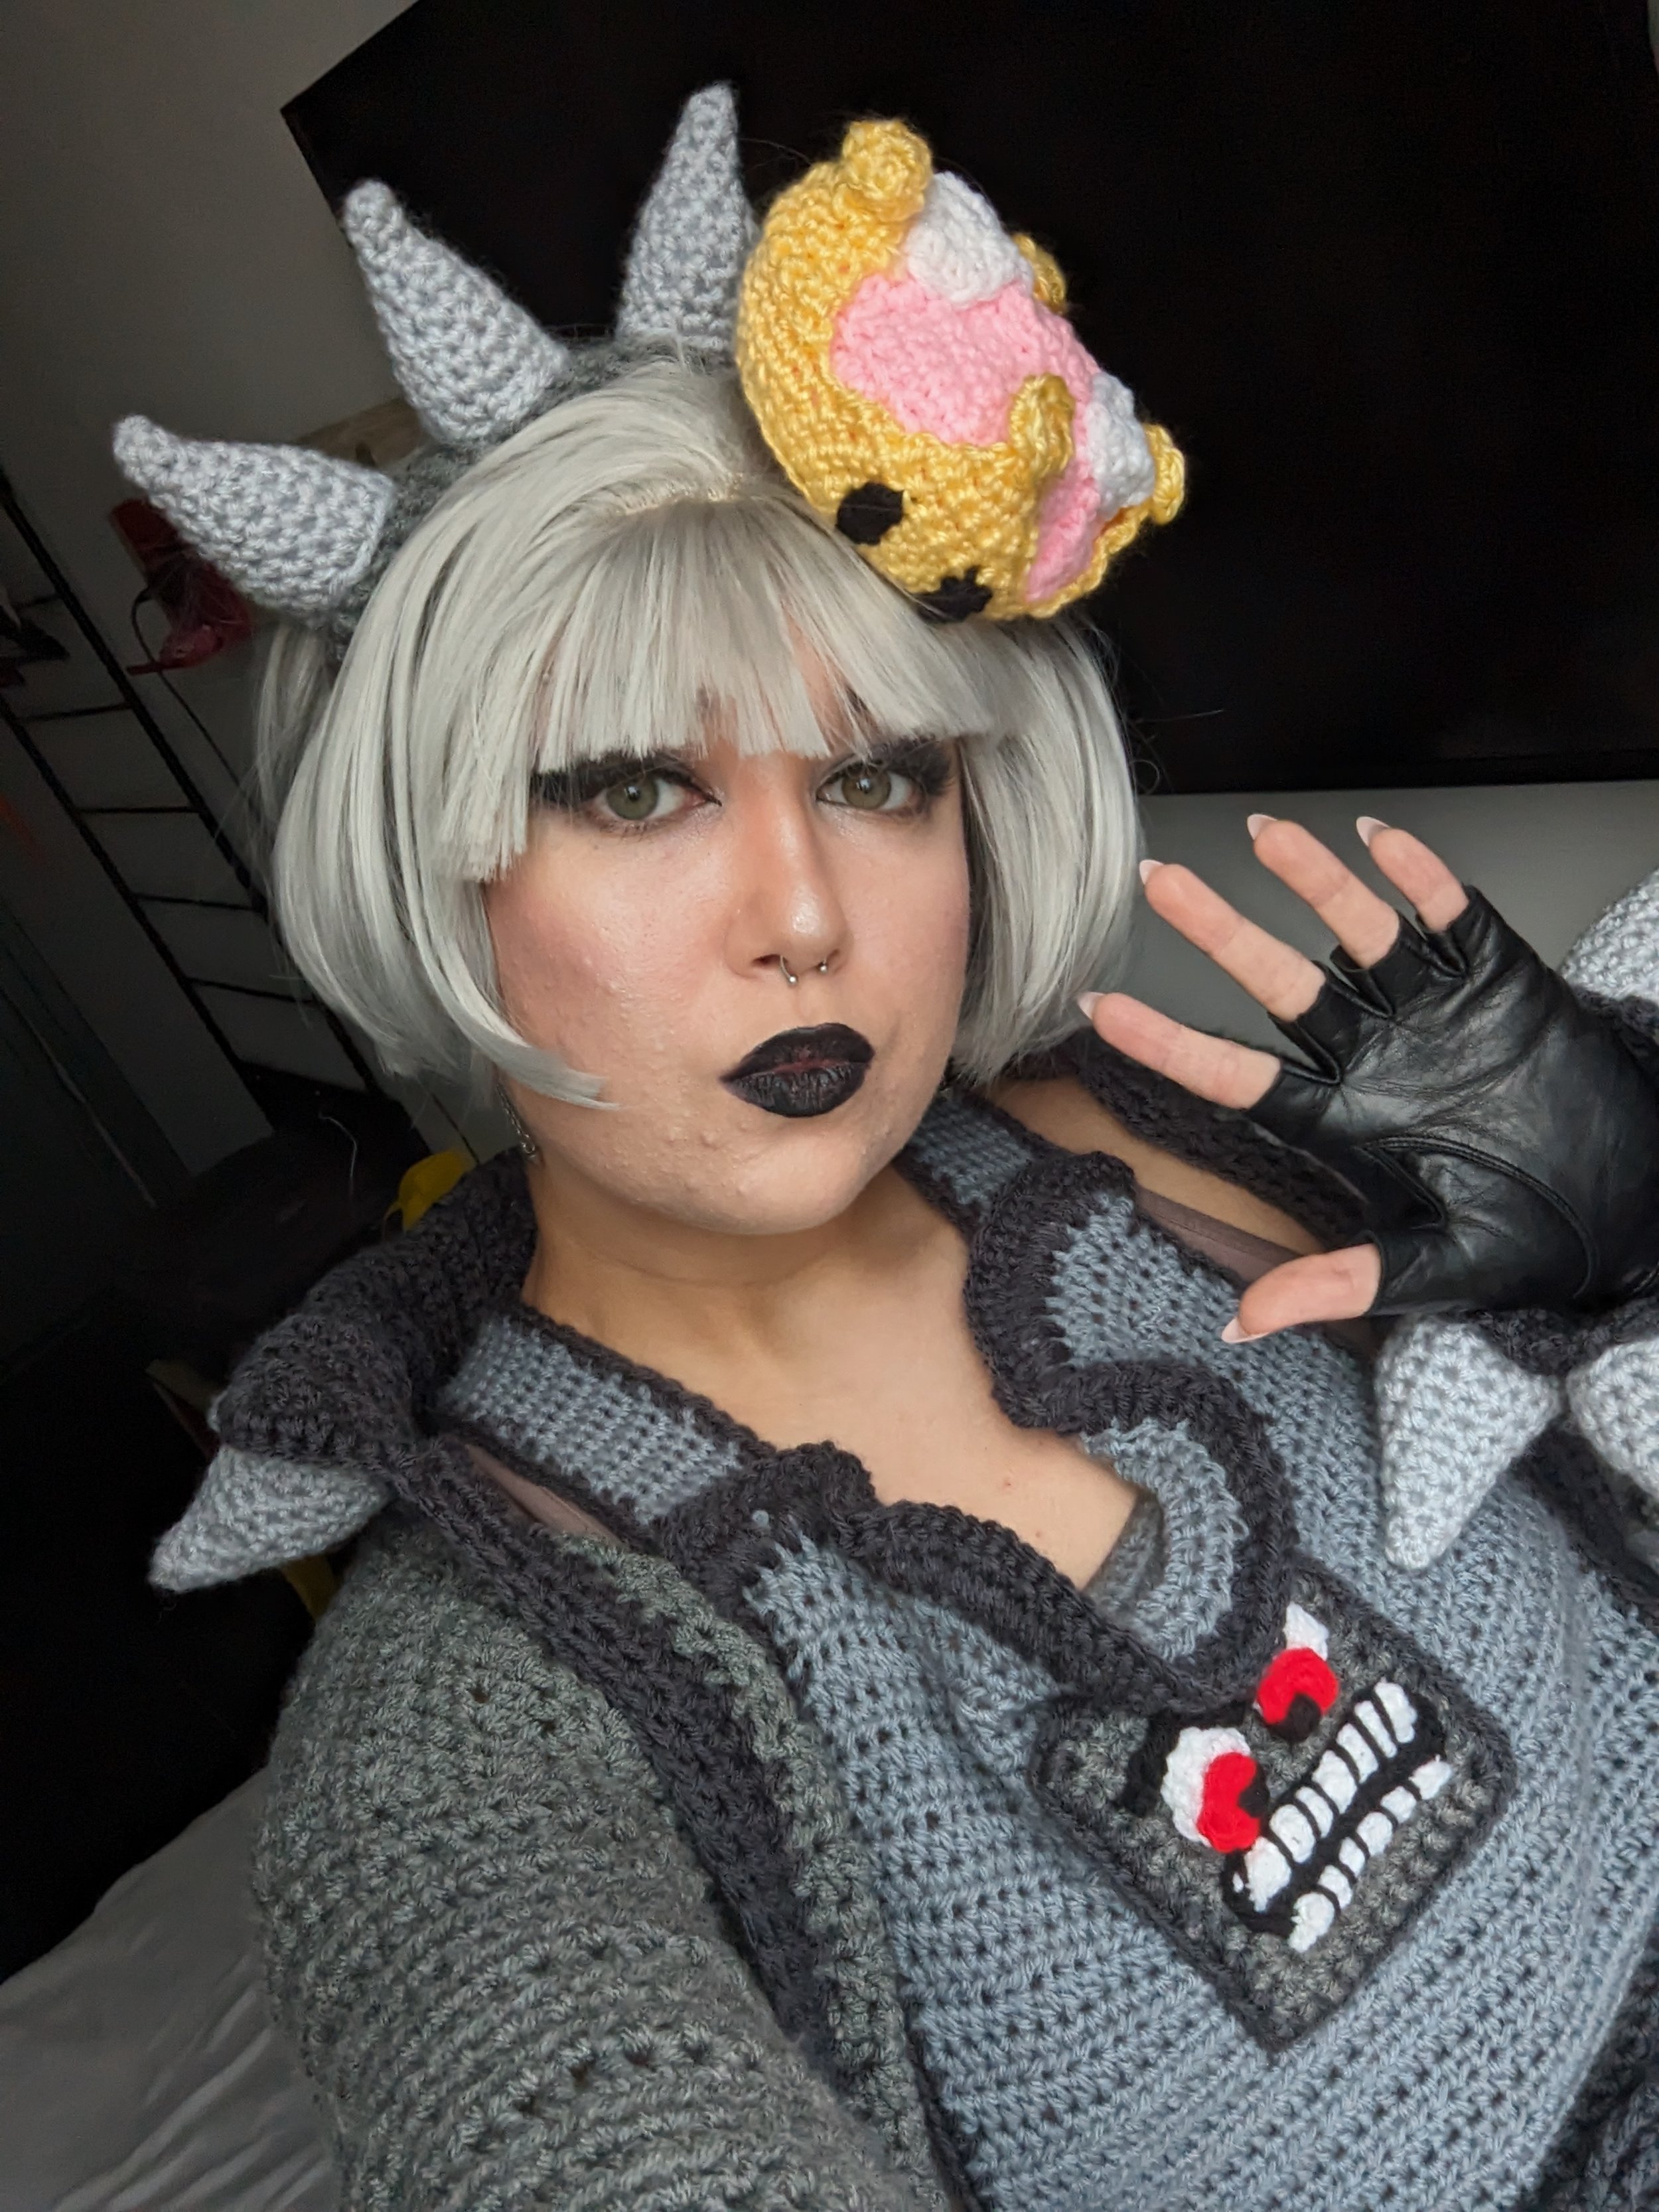
With many of my cosplays I like to treat them as continual projects that always have something I can improve on or add to. For Thwompette the latest upgrade to the costume was making the iconic “Bowsette” crown that is usually feature in any of the variations of the Mario “-ettes”. I had made a crown for my Bowser cosplay, but it wasn’t accurate to the meme one, so I made this one! Enjoy!
The video tutorial for this pattern will be embedded at the bottom of the page!
MATERIALS
worsted weight #4 acrylic in yellow, black, white, and pink
4.5 mm hook
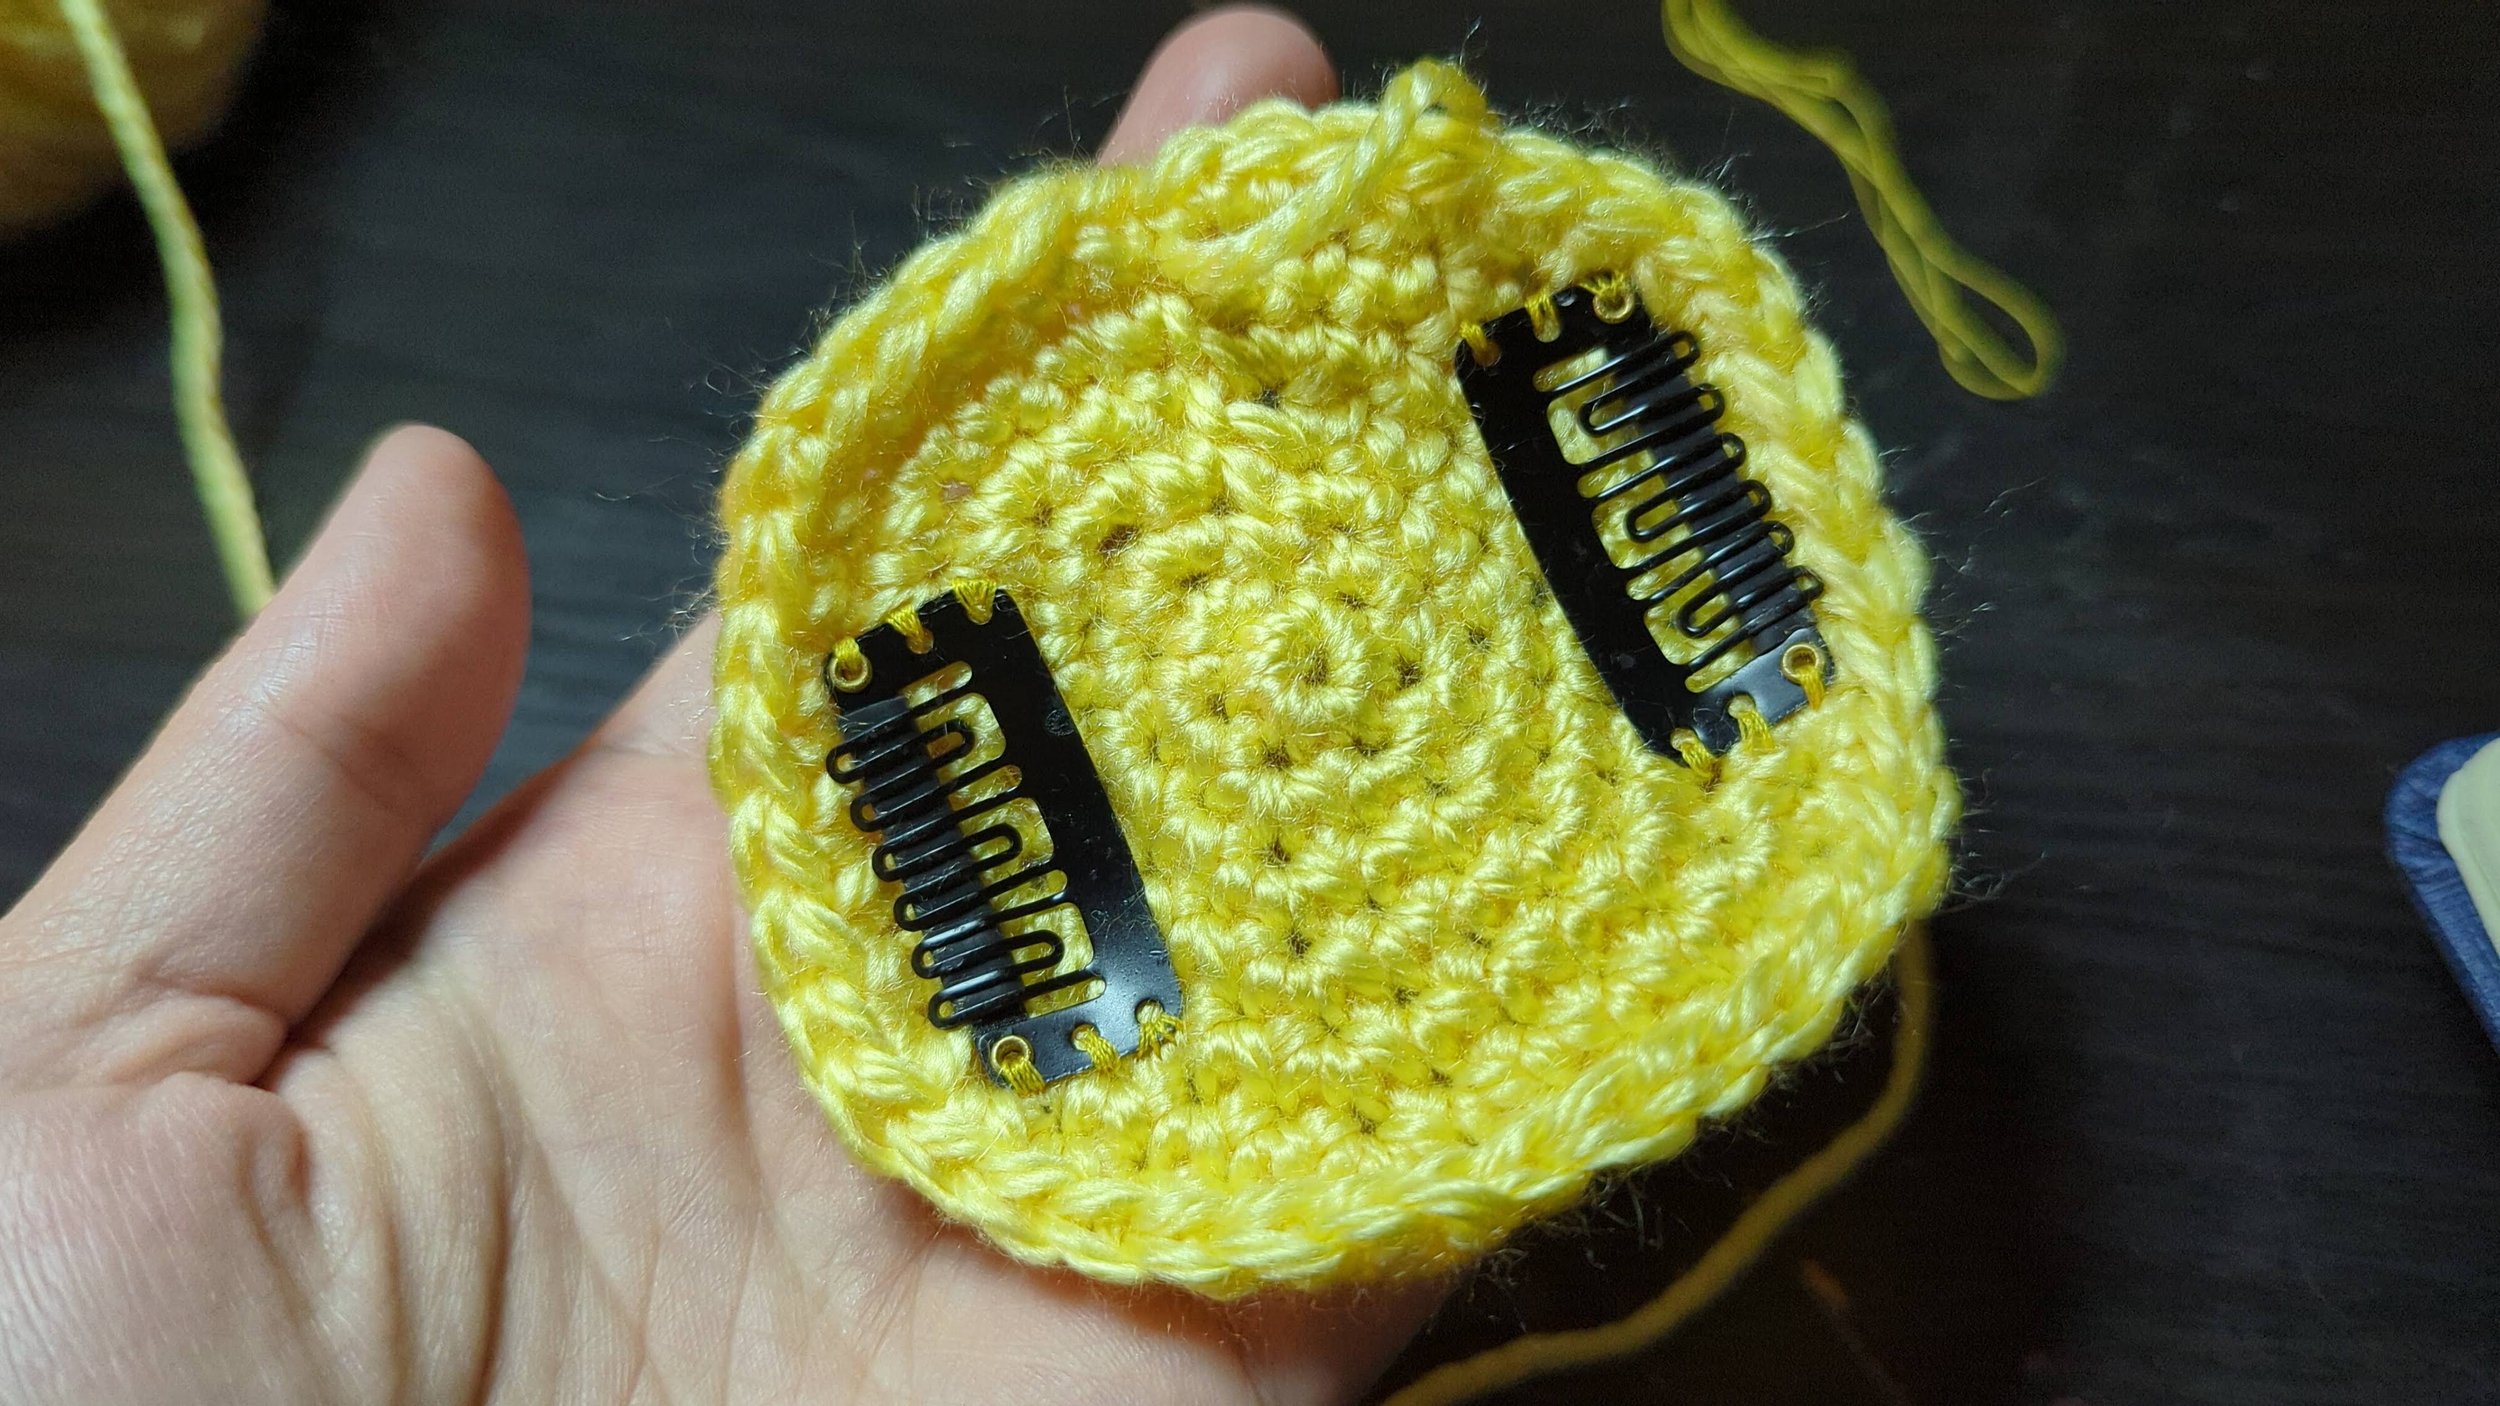
two wig clips
polyester stuffing
darning needle
yellow thread
sewing needle
scissors
ABBREVIATIONS
mc- magic circle
ch- chain
sc- single crochet
BPsc- back post sc
hdc- half double crochet
st(s)- stitch(es)
hdc- half double crochet
sl st- slip stitch
rep- repeat
rnd- round
INSTRUCTIONS

Crown
Using yellow yarn, make a magic circle
Rnd 1: sc 6 into mc, sl st together- 6 sc
Rnd 2: sc 2 in each sc, sl st together- 12 sc
Rnd 3: sc 2 in 1 sc then sc 1 in next, rep 5 more times, sl st together- 18 sc
Rnd 4: sc 2 in 1 sc then sc 1 in next 2 sts, rep 5 more times, sl st together- 24 sc
Rnd 5: sc 2 in 1 sc then sc 1 in next 3 sts, rep 5 more times, sl st together- 30 sc
Rnd 6: sc 2 in 1 sc then sc 1 in next 4 sts, rep 5 more times, sl st together- 36 sc

this is what the BPsc should look like in rnd 8
Rnd 7: sc 2 in 1 sc then sc 1 in next 5 sts, rep 5 more times, sl st together- 42 sc
Without cutting the working yarn, sew wig clips to base of crown with sewing needle and yellow thread.
Rnd 8: sc 1 in each BPsc around, sl st together- 42 BP sc
Rnd 9: sc 1 in each st around, sl st together- 42 sc
Rnd 10-11: rep rnd 8, sl st together- 42 sc
Rnd 12: sc decr in 1st 2 sts, sc across, decr in 21st+ 22nd sts, sc around, sl st together- 40 sc

[this is where we begin one of the 4 points so we shift to rows instead of rounds]
Row 13: decr in 1st 2 sts, sc 1 in next 6 sts, decr in next 2 sts, turn- 8 sc
Row 14: sc across, turn- 8sc
Row 15: decr in 1st 2 sts, sc 1 in each st across, decr in last 2 sts, turn- 6 sc
Row 16: sc across, turn- 6 sc
Row 17: decr in 1st 2 sts, sc 1 in each st across, decr in last 2 sts, turn- 4 sc
Row 18: sc across, turn- 4 sc
Row 19: decr in 1st 2 sts, decr in last 2 sts, turn- 2 sc
Row 20: sc across, cut yarn- 2 sc
[Rep rows 13-20 3 more times around rnd 12]

Now it’s time to make the circles that go on the top of each point of the crown. (In the video version of the tutorial I do this later in the project, but I think it makes more sense to just make them and stitch them on here.)
Using the yellow yarn, make a magic circle
Rnd 1: hdc 8 into mc, sl st together, cut yarn and leave a long tail- 8 hdcs
Using the tail of the circle and the darning needle, sew the circles to the top of the crown’s points.

Eyes (make 2)
Switch to black yarn ch 3
Row 1: sl st 2 in 2nd ch from hook, sl st 3 in next ch, cut yarn and leave long tail- 5 sl st
Use the tail and the darning needle to stitch the eye to the front of the crown.

Inside of Crown
To make the pink poofy bit on the inside of the crown I made four wedge pieces that I stitched together for a closure shape to the crown in the game. Then I added the two white dots.

Wedge (make 4)
Using the pink yarn, ch 2
Row 1: sc 2 in 2nd ch, turn- 2 sc
Row 2: ch 1, sc 1 in each st, turn - 2 sc
Row 3: ch 1, sc 2 in each st, turn - 4 sc
Row 4: sc 1 in each st across, turn- 4 sc
Row 5: sc 1 in 1st st, sc 2 in 2nd and 3rd sts, sc 1 in last st, turn- 6 sc
Row 6: sc 1 in 2 sts, sc 2 in 3rd and 4th sts, sc 1 in next 2 sts, turn- 8 sc
Row 7: sc 1 in 3 sts, sc 2 in 4th and 5th sts, sc 1 in next 3 sts, turn- 10 sc
Row 8: sc 1 in 4 sts, sc 2 in 5th and 6th sts, sc 1 in next 4 sts, turn- 12 sc
Row 9: sc 1 in 5 sts, sc 2 in 6th and 7th sts, sc 1 in next 5 sts, turn- 14 sc
Row 10: sc 1 in each st across, turn- 14 sc
cut yarn
When you have 4 wedges them together by the sides with the points facing in, flip so seams are on the inside

White Circles (make 2)
Using white yarn make a magic circle
Rnd 1: hdc 6 in mc, sl st together- 6 hdc
Rnd 2: hdc 2 in each st, sl together, 12 hdc
cut yarn and leave long tail
Use the long tail and darning needle to sew circles onto the wedges, they should go behind the side crown points so from the front with the eyes there are two white dots on the sides.
When the dots have been added, cut a length of yellow yarn and use the darning needle to stitch the pink poof inside the crown, add polyseter stuffing before closing it up.
Weave in ends!

Make it stand out
Congrats you now have your very own “Bowsette” crown to turn your favorite Mario characters into a cute princess!

If you use this pattern please credit me, and if you'd like, tag me so I can see it! (My social media profiles can be found at the top and bottom of my site!)