Bowser Crochet Cosplay Pattern

Designed by The Scarlet Stitch
Skill Level: Intermediate
Size: Women’s small/medium
Abbreviations
Blo- Back loop only
Ch- chain
Dec- Decrease
Dc- Double Crochet
Hdc- Half Double Crochet
Rep- Repeat
Sc- Single crochet
Sl st- slip stitch
St(s)- stitch
Materials:
⦁ Lily’s Sugar n’ Cream in Yellow (1 skein), White (2 skeins), Black (2 skeins), Dark Pine (3 skeins), and Red (1 skein) (#4 Medium, 100% Cotton) [I actually can’t pinpoint how much of each yarn I used since it was a combo of scraps and new skeins, so these are estimates.]
⦁ H hook
⦁ 2 inch elastic
⦁ 2 bra inserts (optional)
⦁ wonder clips
⦁ tapestry needle
⦁ 2 yellow pipe cleaners
⦁ scissors
⦁ 3 wig clips
⦁ polyester stuffing
Bralette

Green Panels (make 2):
Ch 11
Row 1: sl st across, turn- 10 sl st
Row 2:[sc around entire ch] sc 9, sc 3 into 10th st, sc 9, turn- 21 sc
Row 3: sc 10, sc 3 in 11th st, sc 10, turn- 23 sc
Row 4: sc 11, sc 3 in 12th st, sc 11, turn- 25 sc
Row 5: sc 12, sc 3 in 13th st, sc 12, turn- 27 sc
Row 6: sc 13, sc 3 in 14th st, sc 13, turn- 29 sc

Row 7: sc 14, sc 3 in 15th st, sc 14, turn- 31 sc
Row 8: sc 15, sc 3 in 16th st, sc 15, turn- 33 sc
Row 9: hdc 16, hdc 2 in 17th st, hdc 16- 35 hdc
Row 10: hdc 17, hdc 2 in 18th st, hdc 16- 35 hdc
Cut yarn, weave in ends

White Border (make 2):
Ch 5
Row 1: sc across, turn- 4 sc
Row 2-19: rep row 1, turn- 4 sc
Row 20: dec in 1st 2 sts, sc across, turn- 3 sc
Row 22: sc 1, dcr in last 2 sts-2 sc
Row 23: ch 1, sc 2 in side of previous rows, turn- 2 sc
Row 24: sc 1, sc 2 in next st, turn- 3 sc
Row 25: sc 2 in 1st st, sc across, turn- 4 sc
Row 26 sc across, turn- 4 sc
Row 27-41: rep row 26- 4 sc
Row 42: ch 1, sc 3 into the side of previous rows, turn- 3 sc
Row 43: sc across, turn- 3 sc
Row 44-55: sc across- 3 sc
-Sc row 55 to the side of 1st rows to compete triangle shape, cut yarn and leave a long tail.
-Use clips to hold bra; insert behind the green panel and white border on the top.
-Sew the clipped pieces together with the tail of the white border.
Yellow Base
[You will be stitching into the base of the bra pieces you’ve just made]
Row 1: ch 22, sc across base of 1st bra piece, ch 2, sc across other bra piece, ch 23, turn- 86 sts
Row 2: sc across, turn- 86 sc
Row 3- 9: rep row 2, turn- 86 sc
Belt
Ch 7
Row 1: sc across, turn- 6 sc
Row 2-9: rep row 1, turn- 6 sc

Spikes (make 7)
Rnd 1: make a magic ring, ch1, sc 3, sl st together- 3 sc
Rnd 2: ch 1, sc around, sl st together- 3 sc
Rnd 3: ch 1, sc 2 in each st around, sl st together- 6 sc
Rnd 4: ch 1, sc around, sl st together- 6 sc
Rnd 5: ch 1, sc 2 in every other st- 9sc
-cut a long tail so it can be directly sewn onto belt, before sewing onto belt stuff spikes with polyester stuffing
-using a tapestry needle, stitch the belt onto the last 2 rows of the yellow base
Notes:
-I find the bra inserts helpful for support and structure, but they are not necessary so do whatever you’d like.
-For the ties in the back I just crochet a very long chain from the top of both bra pieces then pull them through the back of the yellow base to tie it up like a corset.
Upper Arm Bands

[Make 2 complete bands]
Black Base
Ch 7
Row 1: sc across, turn- 6sc
Row 2- 28: rep row 1, turn- 6 sc
Cut yarn and leave long enough tail to sc sides together later, do not attach sides yet.
[Note: crochet as many rows as needed to have a snug fit around your arm.]
Spikes (Make 3)
Rnd 1: make a magic ring, ch 1, sc 3, sl st to 1st st, turn- 3 sc
Rnd 2: ch 1, sc around, sl st together, turn- 3 sc
Rnd 3: ch 1, sc 2 in each st around, sl st together, turn- 6 sc
Rnd 4: ch 1, sc around, sl st together, turn- 6 sc
Rnd 5: ch 1, sc 2 in every other st, sl st together, turn- 9 sc
Rnd 6: ch 1, sc around, sl st together, turn- 9 sc
Rnd 7: ch 1, sc 2 in every 3rd st, sl st together, turn- 12 sc
Cut yarn and leave a tail long enough to hand stitch spikes to black band
-Add stuffing to the insides of spikes.
-Attach the spikes to the black band, try to space them evenly.
-Cut a piece of elastic to the length of the black band, clip in place, and sew it in with black yarn.
-Use tail of black band to sc sides together.
-Weave in ends.
Wrist Cuffs (Make 2 wrist cuffs)

Black Band
Row 1: sc across, turn- 6sc
Row 2- 22: rep row 1, turn- 6 sc
Cut yarn and leave tail long enough to sc up the sides.
Spikes (Make 4)
Rnd 1: make a magic ring, ch 1, sc 3, sl st together- 3 sc
Rnd 2: ch 1, sc around, sl st together, turn- 3 sc
Rnd 3: ch 1, sc 2 in each st around, sl st together, turn- 6 sc
Rnd 4: ch 1, sc around, sl st together, turn- 6 sc
Rnd 5: ch 1, sc 2 in every other st, turn- 9 sc
-Add stuffing to the insides of spikes.
-Attach the spikes to the black band, try to space them evenly.
-Use tail of black band to sc sides together.
-Weave in ends.
Skirt


Skirt Panels (Make 2)
Ch 52
Row 1: dc across, turn- 51 dc
Row 2-3: rep row 1, turn- 51 dc
Row 4: dec on 1st and last sts, dc across, turn- 49 dc
Row 5: dc across, turn- 49 dc
Row 6: dec in 1st and last sts, dc across, turn- 47 dc
Row 7: dc across, turn- 47 dc
Row 8: dec in 1st and last sts, dc across, turn- 45 dc
Row 9: dc across, turn- 45 dc
Row 10: dec in 1st sts, dc 7 across, dec in 8th + 9th sts, turn- 9 dc
Row 11: dc across, turn- 9 dc
Row 12: dec in 1st and last sts, dc across, turn- 7 dc
Row 13: dc across, turn- 7 dc
Row 14: dec in 1st and last sts, dc across, turn- 5 dc
Row 15: dc across, turn- 5 dc
Row 16: dec in 1st and last sts, dc across, turn- 3 dc
Row 17: dc across, turn- 3 dc
Row 18: dec in 1st and last sts, dc across, turn- 2 dc
Row 19 dec in 1st sts- 1 dc
Cut yarn and weave in ends.
[rep row 10-19 on opposite side of row 9]
[For the middle piece of the panel, stitch in between the triangles made in row 10-19]
Row 10B: dc across, turn- 23 dc
Row 11B: dec in 1st and last sts, dc across, turn- 21 dc
Row 12B- 22B: rep row 11B
Cut yarn and weave in ends.
Using red yarn, crochet around the sides and bottom of skirt panels.
Black Band
Ch 8
Row 1: sc across, turn- 7 sc
Row 2- 36: rep row 1, turn- 7 sc
Cut yarn and leave long enough tail to sc sides together.
Spikes (make 6)
Rnd 1: make a magic ring, ch1, sc 3, sl st together- 3 sc
Rnd 2: ch 1, sc around, sl st together- 3 sc
Rnd 3: ch 1, sc 2 in each st around, sl st together- 6 sc
Rnd 4: ch 1, sc around, sl st together- 6 sc
Rnd 5: ch 1, sc 2 in every other st- 9sc
-Cut a long tail so it can be directly sewn onto belt, before sewing onto belt stuff spikes with polyester stuffing.
-Cut a piece of elastic to the length of the black band, clip in place, and sew it in with black yarn.
-Sc black band sides together.
-Sew the skirt panels to the belt, make sure to space them evenly.
-Weave in ends.
Horns (Make 2)

(The horn pattern I included in this pattern is from my first version of this cosplay. I made bigger horns for the costume later on.)
Rnd 1: make a magic ring, ch 1, sc 3, sl st to 1st st, turn- 3 sc
Rnd 2: ch 1, sc around, sl st together, turn- 3 sc
Rnd 3: ch 1, sc 2 in each st around, sl st together, turn- 6 sc
Rnd 4: ch 1, sc around, sl st together, turn- 6 sc
Rnd 5: ch 1, sc 2 in every other st, sl st together, turn- 9 sc
Rnd 6: ch 1, sc 2 in every 3rd st, sl st together, turn- 12 sc
Rnd 7-11: rep row 6- 12 sc
Rnd 12: dec in every st, sl st together- 6 sc
Rnd 13: dec in every st, sl st together- 3 sc
Cut yarn, stitch tail through center of rnd 13 stitches and pull together.
-Attach wig clip to base
Crown

Circle Base (A)
Rnd 1: make a magic ring, hdc 8, sl st together- 8 hdc
Rnd 2: hdc 2 in every st around, hdc across, sl st together- 16 hdc
Rnd 3: hdc 2 in every other st, hdc across, sl st together- 24 hdc
Rnd 4: [Shape a pipe cleaner to fit around rnd 3 and st around it] sc 2 in every 3rd st, hdc across, sl st together- 32 sc
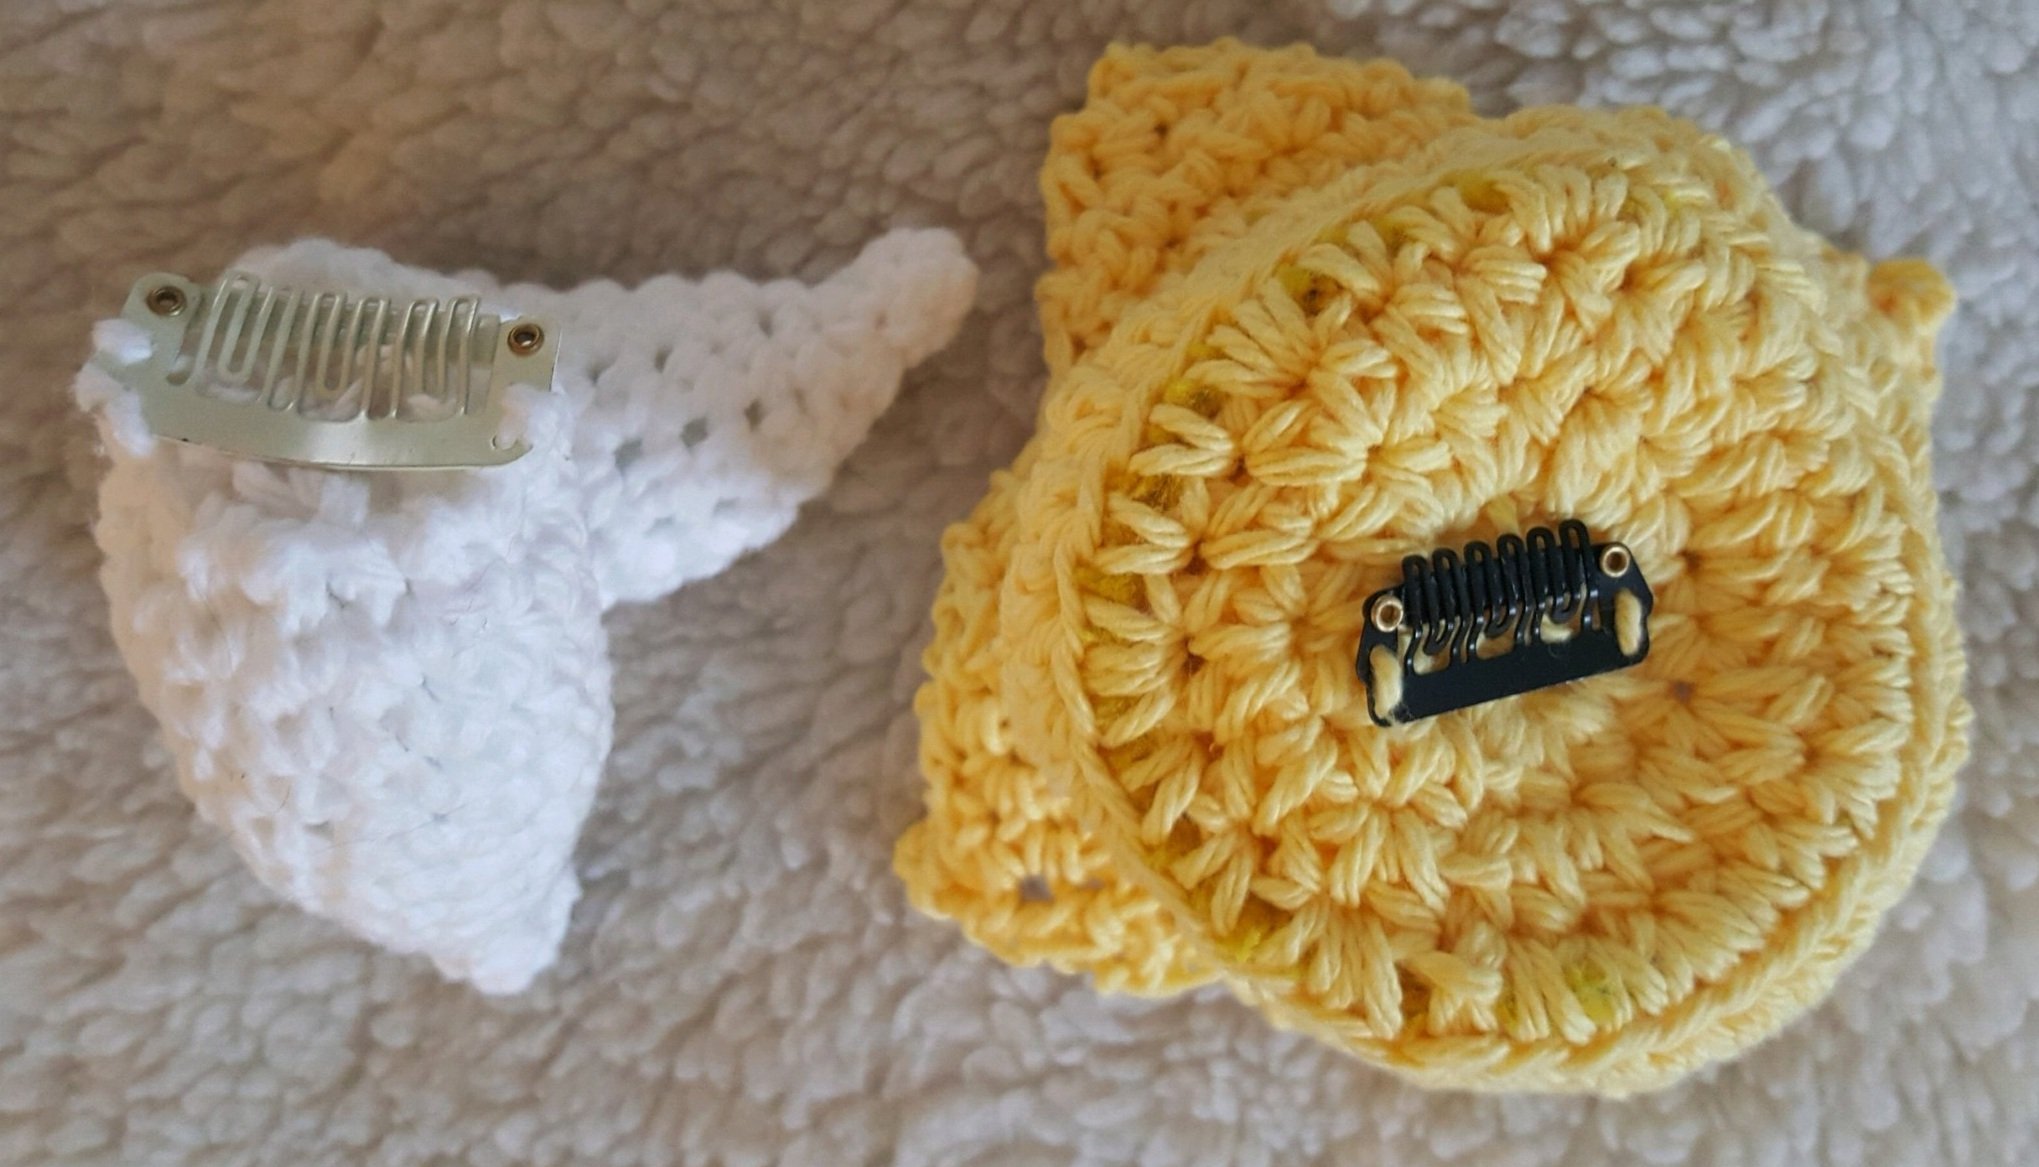
-sew a wig clip onto the center of the back of the base
-without cutting yarn, move onto next set of instructions
Crown Edges (B)
Rnd 1: hdc blo in rnd 4 of A, sl st together- 32 hdc
Rnd 2: hdc around, sl st together- 32 hdc
Rnd 3-4: rep row 2- 32 hdc
-shape a pipe cleaner to fit around rnd 4 and clip into place
Rnd 5: sc around pipe cleaner, sl st together- 32 hdc
-without cutting yarn, move onto next set of instructions
Crown Points (C)(Make 4 points)
Row 1: sc 8, turn- 8 sc
Row 2: dec in 1st and last sts, turn- 6 sc
Row 3-5: rep row 2
Cut and repeat 3 more times around.
Weave in ends.
Choker

Black Band
Ch 7
Row 1: sc across, turn- 6 sc
Row 2-35: rep row 1
Cut yarn and weave in end.
-Ch a tie from each side of the black band.
Spikes (Make 3)
Rnd 1: make a magic ring, ch 1, sc 3, sl st together- 3 sc
Rnd 2: ch 1, sc around, sl st together, turn- 3 sc
Rnd 3: ch 1, sc 2 in each st around, sl st together, turn- 6 sc
Rnd 4: ch 1, sc around, sl st together, turn- 6 sc
Rnd 5: ch 1, sc 2 in every other st, turn- 9 sc
-Add stuffing to the insides of spikes.
-Attach the spikes to the black band, and try to space them evenly.

Now it’s time to rock your new look! Since writing this tutorial I have redone the horns, added a backpack shell, and added a tail to this cosplay. I did not write patterns when I made these items as it was during a classic con crunch.
If you use this pattern please credit me, and if you'd like, tag me so I can see it! (My social media profiles can be found at the top and bottom of my site!)